Support · Field guide
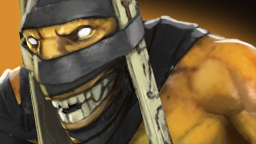
Shadow Shaman
Turn long control into a kill, then use Mass Serpent Ward pressure to claim a structure.
First check
Who protects you while you channel Shackles, and where will the next wave be?
Play as Shadow Shaman
- Coordinate your first disable with a partner who can supply damage. Standing still for Shackles is a real commitment.
- Prepare the lane before placing Mass Serpent Wards at a tower. The wave, enemy teleports, and your exit decide the value.
- Use the threat of wards to force a response when a direct tower kill is unsafe, then retreat with the team.
Play against Shadow Shaman
- Keep an interrupt or a save ready when he steps forward to channel. A free full channel can decide the fight.
- Clear or divert the lane before his team reaches a tower so wards cannot be placed into easy structure damage.
- If he commits wards without support, evaluate whether to defend the tower, clear the wards, or trade elsewhere.
Make the lesson stick
Review each ward placement: write down wave location, defenders showing, structure damage, and how Shaman escaped.
Added September 26, 2026. These are decision cues, not fixed builds or matchup guarantees. Verify current spell and item behavior in the Dota client, the official Shadow Shaman hero page, and official updates.